Using the Backcheck Line & Height Jig
Updated: 3 hours ago
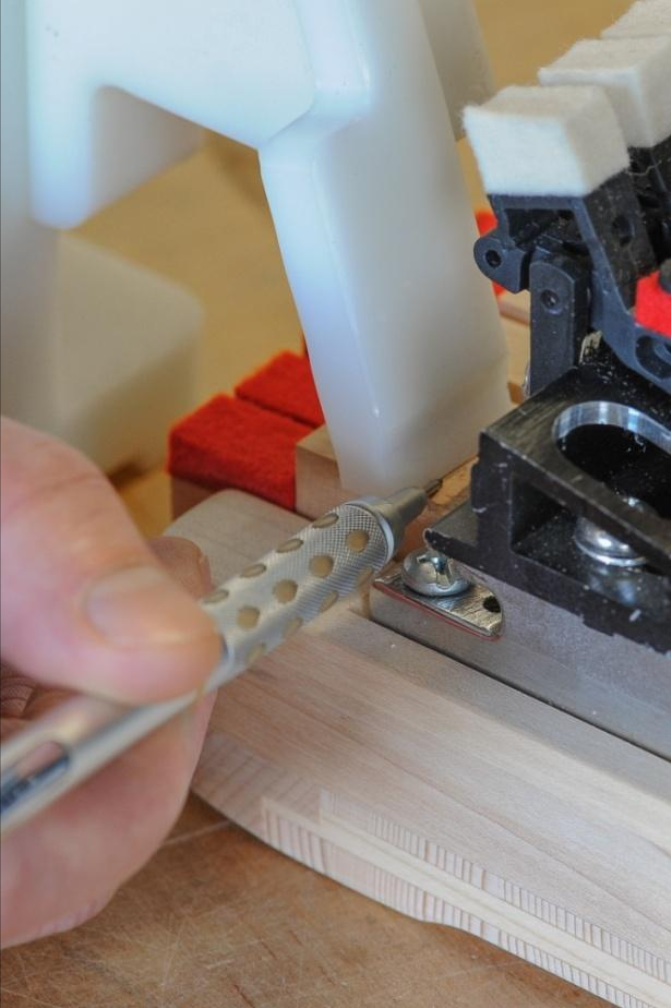
The Backcheck Line & Height Jig is included in the Backcheck Installation Kit. This measuring device is used to find the precise location to install new WNG backchecks in any grand action.


How to Determine Backcheck Height Using the WNG Backcheck Line & Height Jig
Step 1: Measure the hammer bore length

Step 2: Adjust the top screw until the distance from the end of the screw to the plastic equals the hammer bore length you just measured.

Step 3: Lower the slide and place the tool under the strings near the middle of the section. This provides a good average string height for that section.

Step 4: Raise the slide until the head of the screw just touches the strings. Take care not to lift or bend the strings upward with the tool.
Step 5: Remove the Backcheck Line & Height Jig from the action cavity.
Step 6. Block one key in the fully depressed position. Backcheck length is measured in this position because the tool indicates the required backcheck height at full key depression.

Step 7: Position the Combo Tool over the keyboard, still set to the measured string height. Place it so the backcheck-height surface is above and slightly behind the backcheck block.

Step 8: Place a trial backcheck against the rear side of the String Height Slide at the angle indicated by the key-marking slot. This is the intended backcheck angle after insertion and adjustment. Use the backcheck-height surface to determine where to mark the wire for the correct installed height.

Step 9: Mark the backcheck wire with a felt-tip marker.

Step 10: Place the mark on the front side of the backcheck so that it remains visible while inserting the trial backcheck.

How to Determine the Backcheck Drilling Line Using the WNG Backcheck Combo Tool
Step 1: Draw a centerline on a sample hammer, such as note 1, 72, or 88.

Step 2: Use a ruler and suitable marking tools to make the line accurately.

Step 3: Add a cross mark on the centerline at the centerline of the hammer shank.

Step 4: Measure the hammer bore length in the section you are working on.

Step 5: Adjust the top screw until the distance from the end of the screw to the plastic equals the measured hammer bore length.

Step 6: Lower the slide and place the tool under the strings near the middle of the section to obtain a representative average height.

Step 7: Raise the slide until the screw head just touches the strings. Do not lift or bend the strings upward.
Step 8: Remove the jig from the action cavity and place it on the bench behind a keyboard with the action installed and the hammers glued in their correct positions on the shanks. The keyboard should already be leveled and dipped to its final specifications. Position the point of the notch at the intersection of the lines drawn on the side of the hammer. This locates the tool relative to the hammers as actually installed.

Step 9: Insert the Key Marking Slide into the slot and lower it to the backcheck block. For this operation, the key must be in the up position with the rear of the key resting on the backrail cloth.


Step 10: Mark the backcheck drilling line on the key. This is typically done at notes 1, 72, and 88.